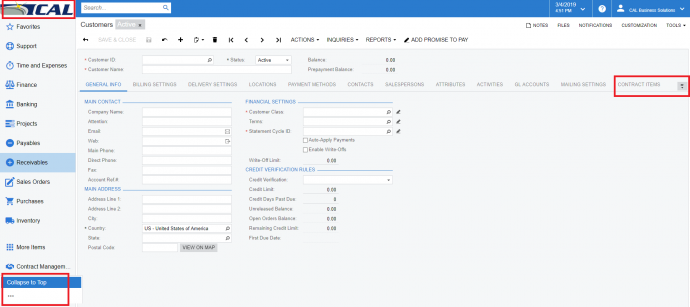
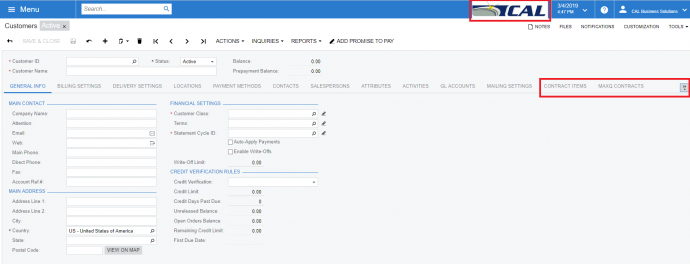
Some screens in Acumatica are very wide. You might find it helpful to follow the instructions below to “Collapse to Top”. In other words, move the logo into the header and minimize the main menu. Doing this allows the entire screen width to be used in the current process. In the example below, on the Customers screen, by moving the logo and minimizing the main menu you are then able to see columns that previously did not fit on the screen.
How to Change the Location and Size of the Main Menu in Acumatica
By default, the main menu is located on the left side of the screen and is displayed in its maximum size. If you need more space in the working area of the screen (for example, to work with forms more conveniently), you can change the location and size of the main menu panel as follows:
- Collapse the menu panel so that only the icons of menu items are displayed by clicking () in the bottom right corner of the main menu panel.
- Collapse the menu panel to a button in the top left corner of the screen by clicking () in the bottom left corner of the main menu panel and selecting Collapse to Top.
- Display only icons on the Menu button and in titles of the main menu items. To do this, you click Menu and then click () in the bottom right corner of the main menu panel.
For more tips visit https://www.calszone.com/category/blog/acumatica/acumatica-tips/
If you are evaluating a new ERP system, or are already using Acumatica contact CAL Business Solutions. 860-485-0910 x4 or sales@calszone.com
By CAL Business Solutions, Acumatica Partner www.calszone.com/acumatica
Follow us on Twitter: @CALERPNEWS


